Sometimes original replacement parts can’t be obtained and 3D printed parts may not be strong enough or too expensive to produce in volume.
This is one case where 3D printed tooling and urethane castings can help bridge the gap between the limitations of 3D printing and the design intent of the part.
The following is a brief 7 step guide showing the reproduction of a legacy part from start to finish using 3D printing, soft tooling, and casting.
Step 1: Create a CAD file of the original part that is to be reproduced.
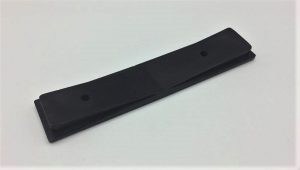
Original Part
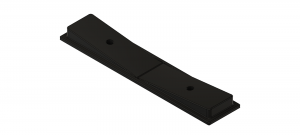
CAD Model
Step 2: Print the part which will become the master that the mold is then created from.

Printed Part
Step 3: Remove supports, blemishes from the surface, and prepare the master part to create the mold.

Finished Master Part
Step 4: Create a form around the master part with silicone rubber.
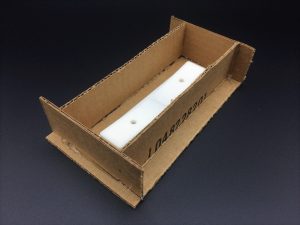
Mold Form
Step 5: Mix 2 part silicone and pour into the mold form and let cure.

Step 6: Separate the mold from the master part. Then use the mold to cast the new part.

Using Mold to Cast a Part
Step 7: Remove cast part from the mold and remove flashing/finish part as required.

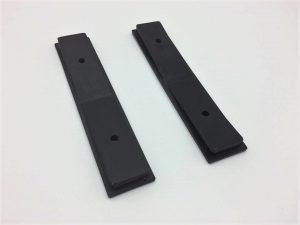
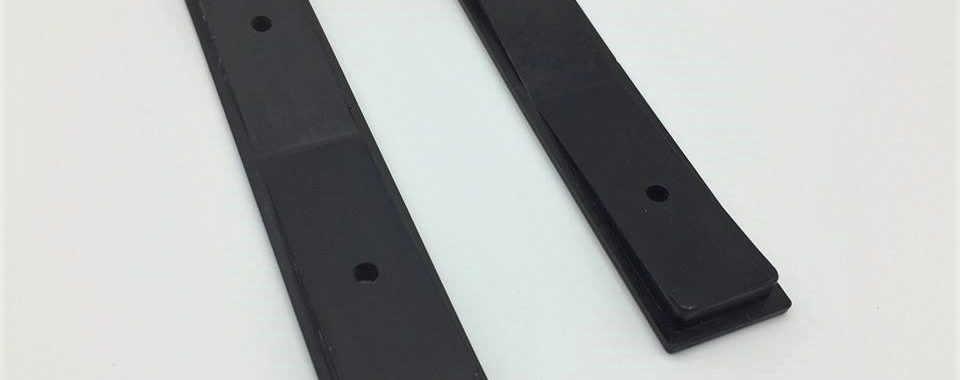
Finished Part (Left) Next to Original Part (Right)